Reports pivot your plans and actuals into a table you can format, share, export, and email on a schedule. The builder is drag-and-drop: fields go on rows and columns, plans and actuals go on the series shelf, and the preview updates as you work.
Create a report
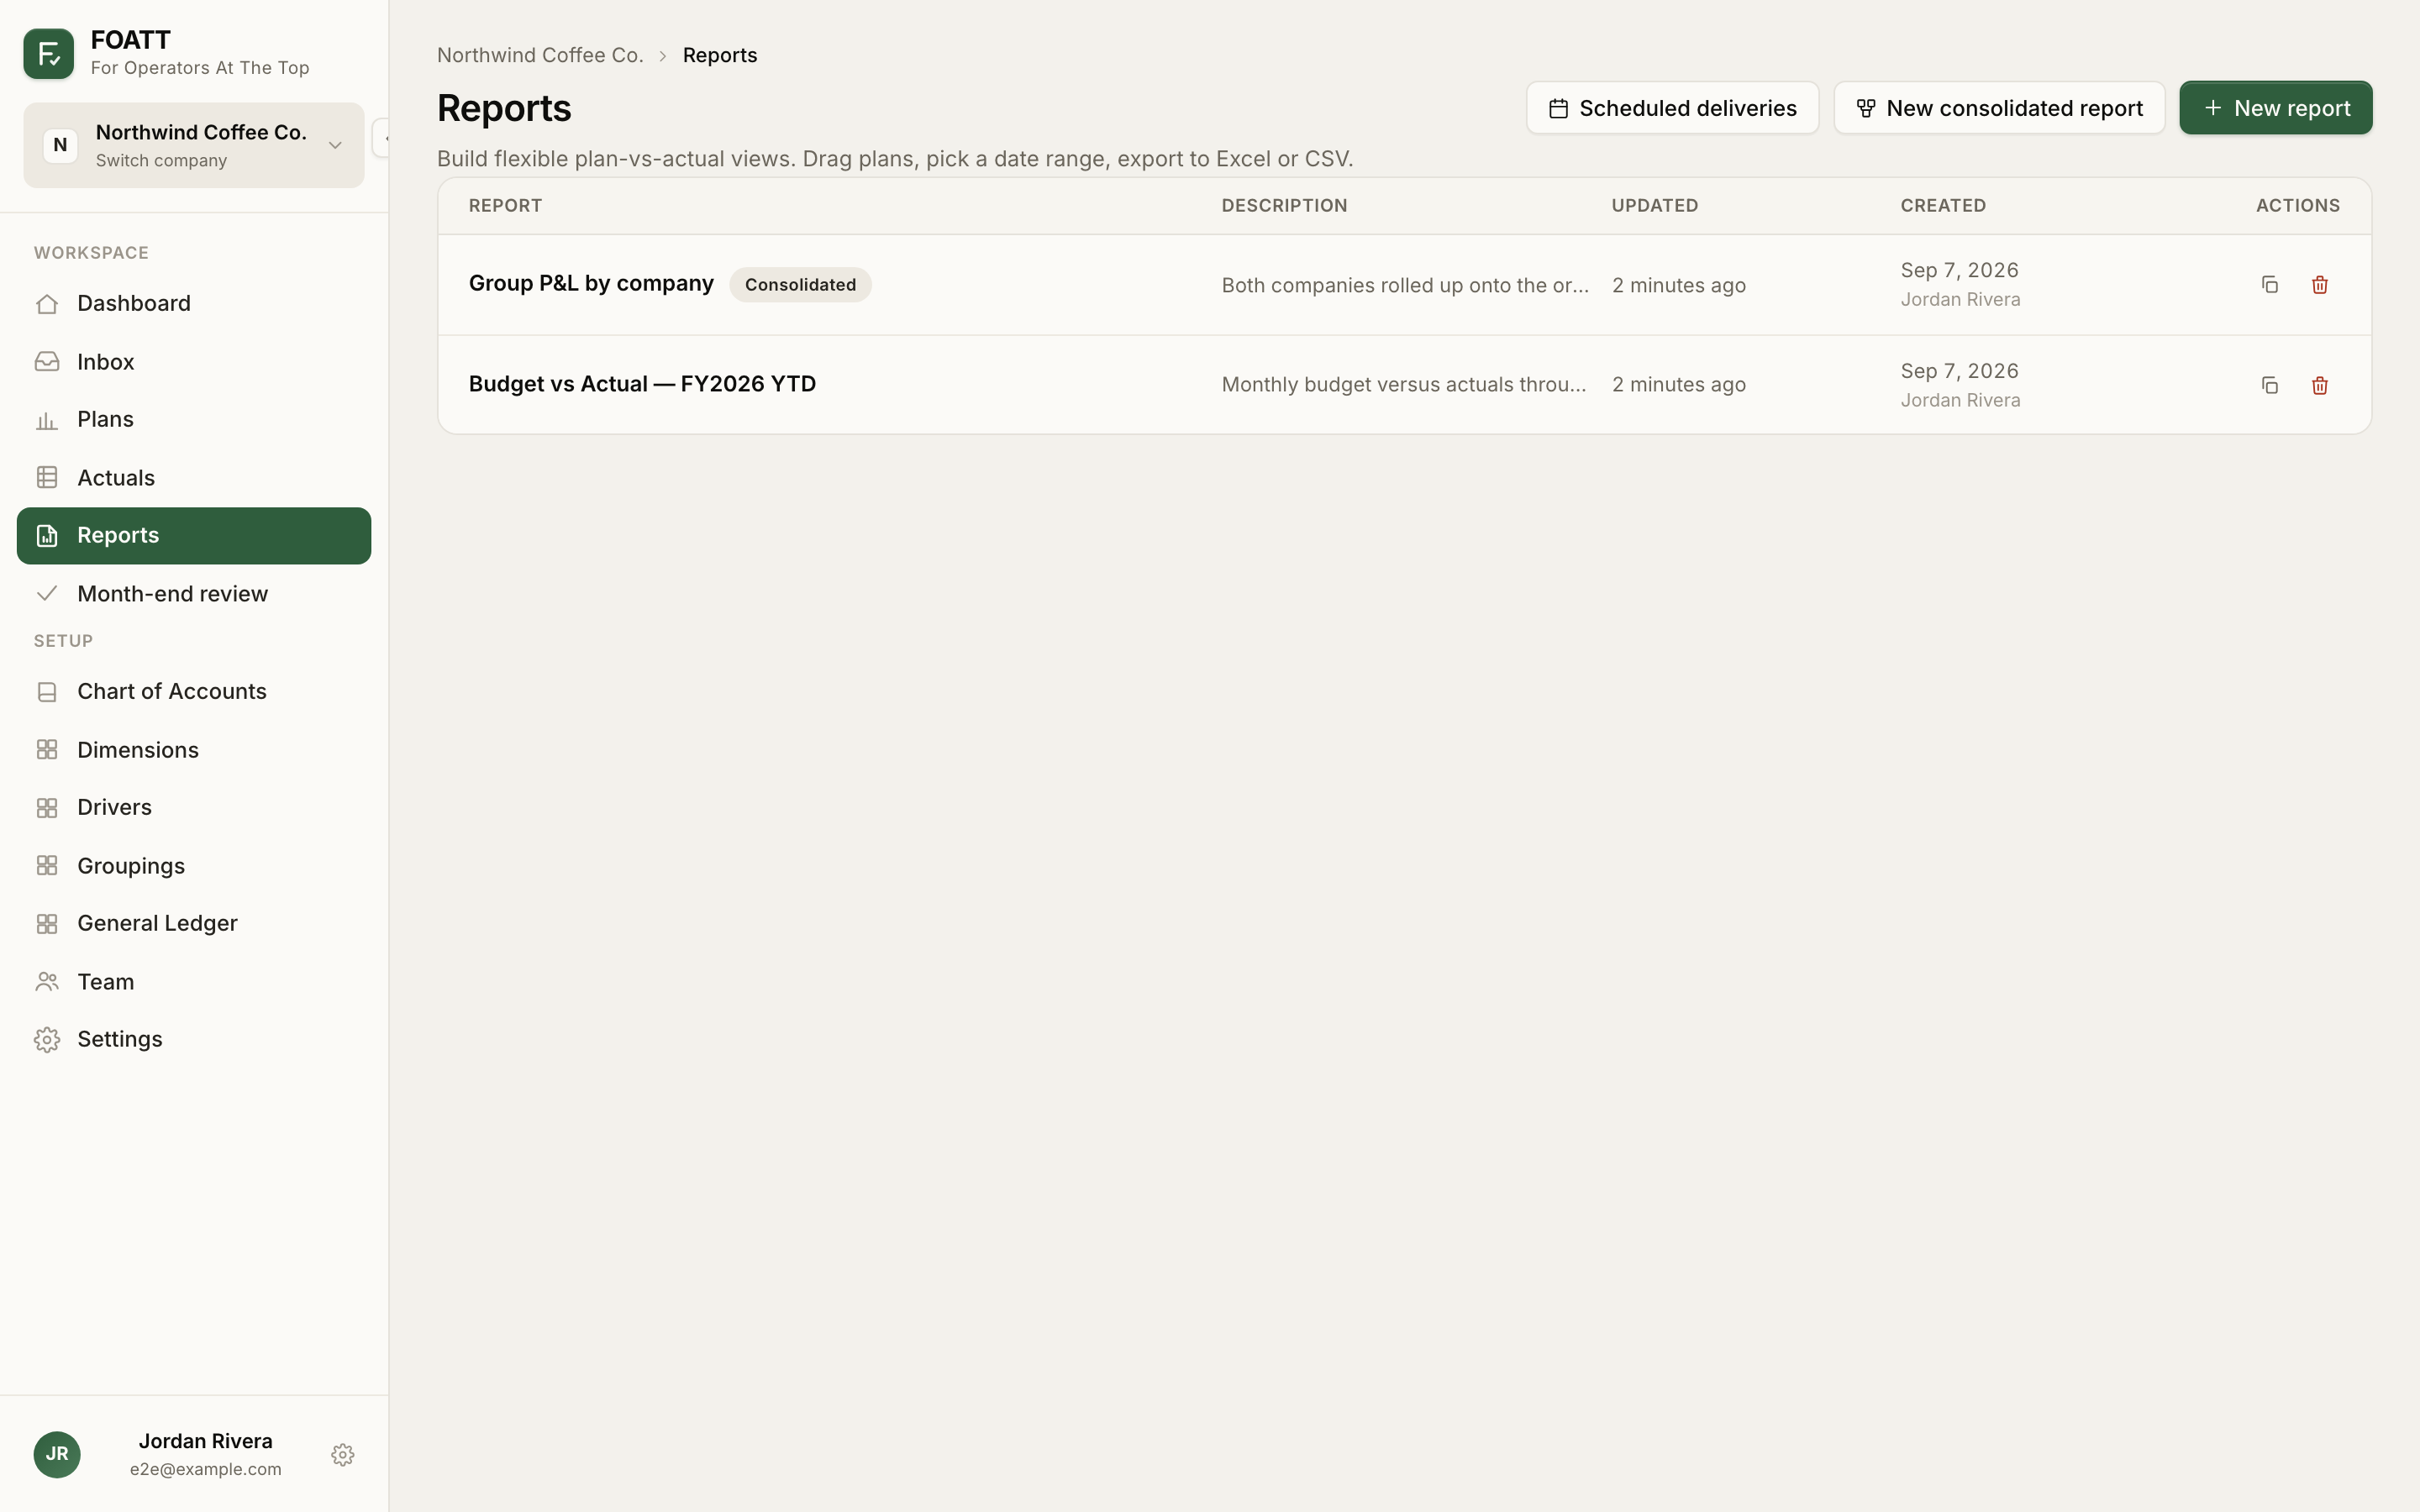
- Open Reports in the sidebar and click New report.
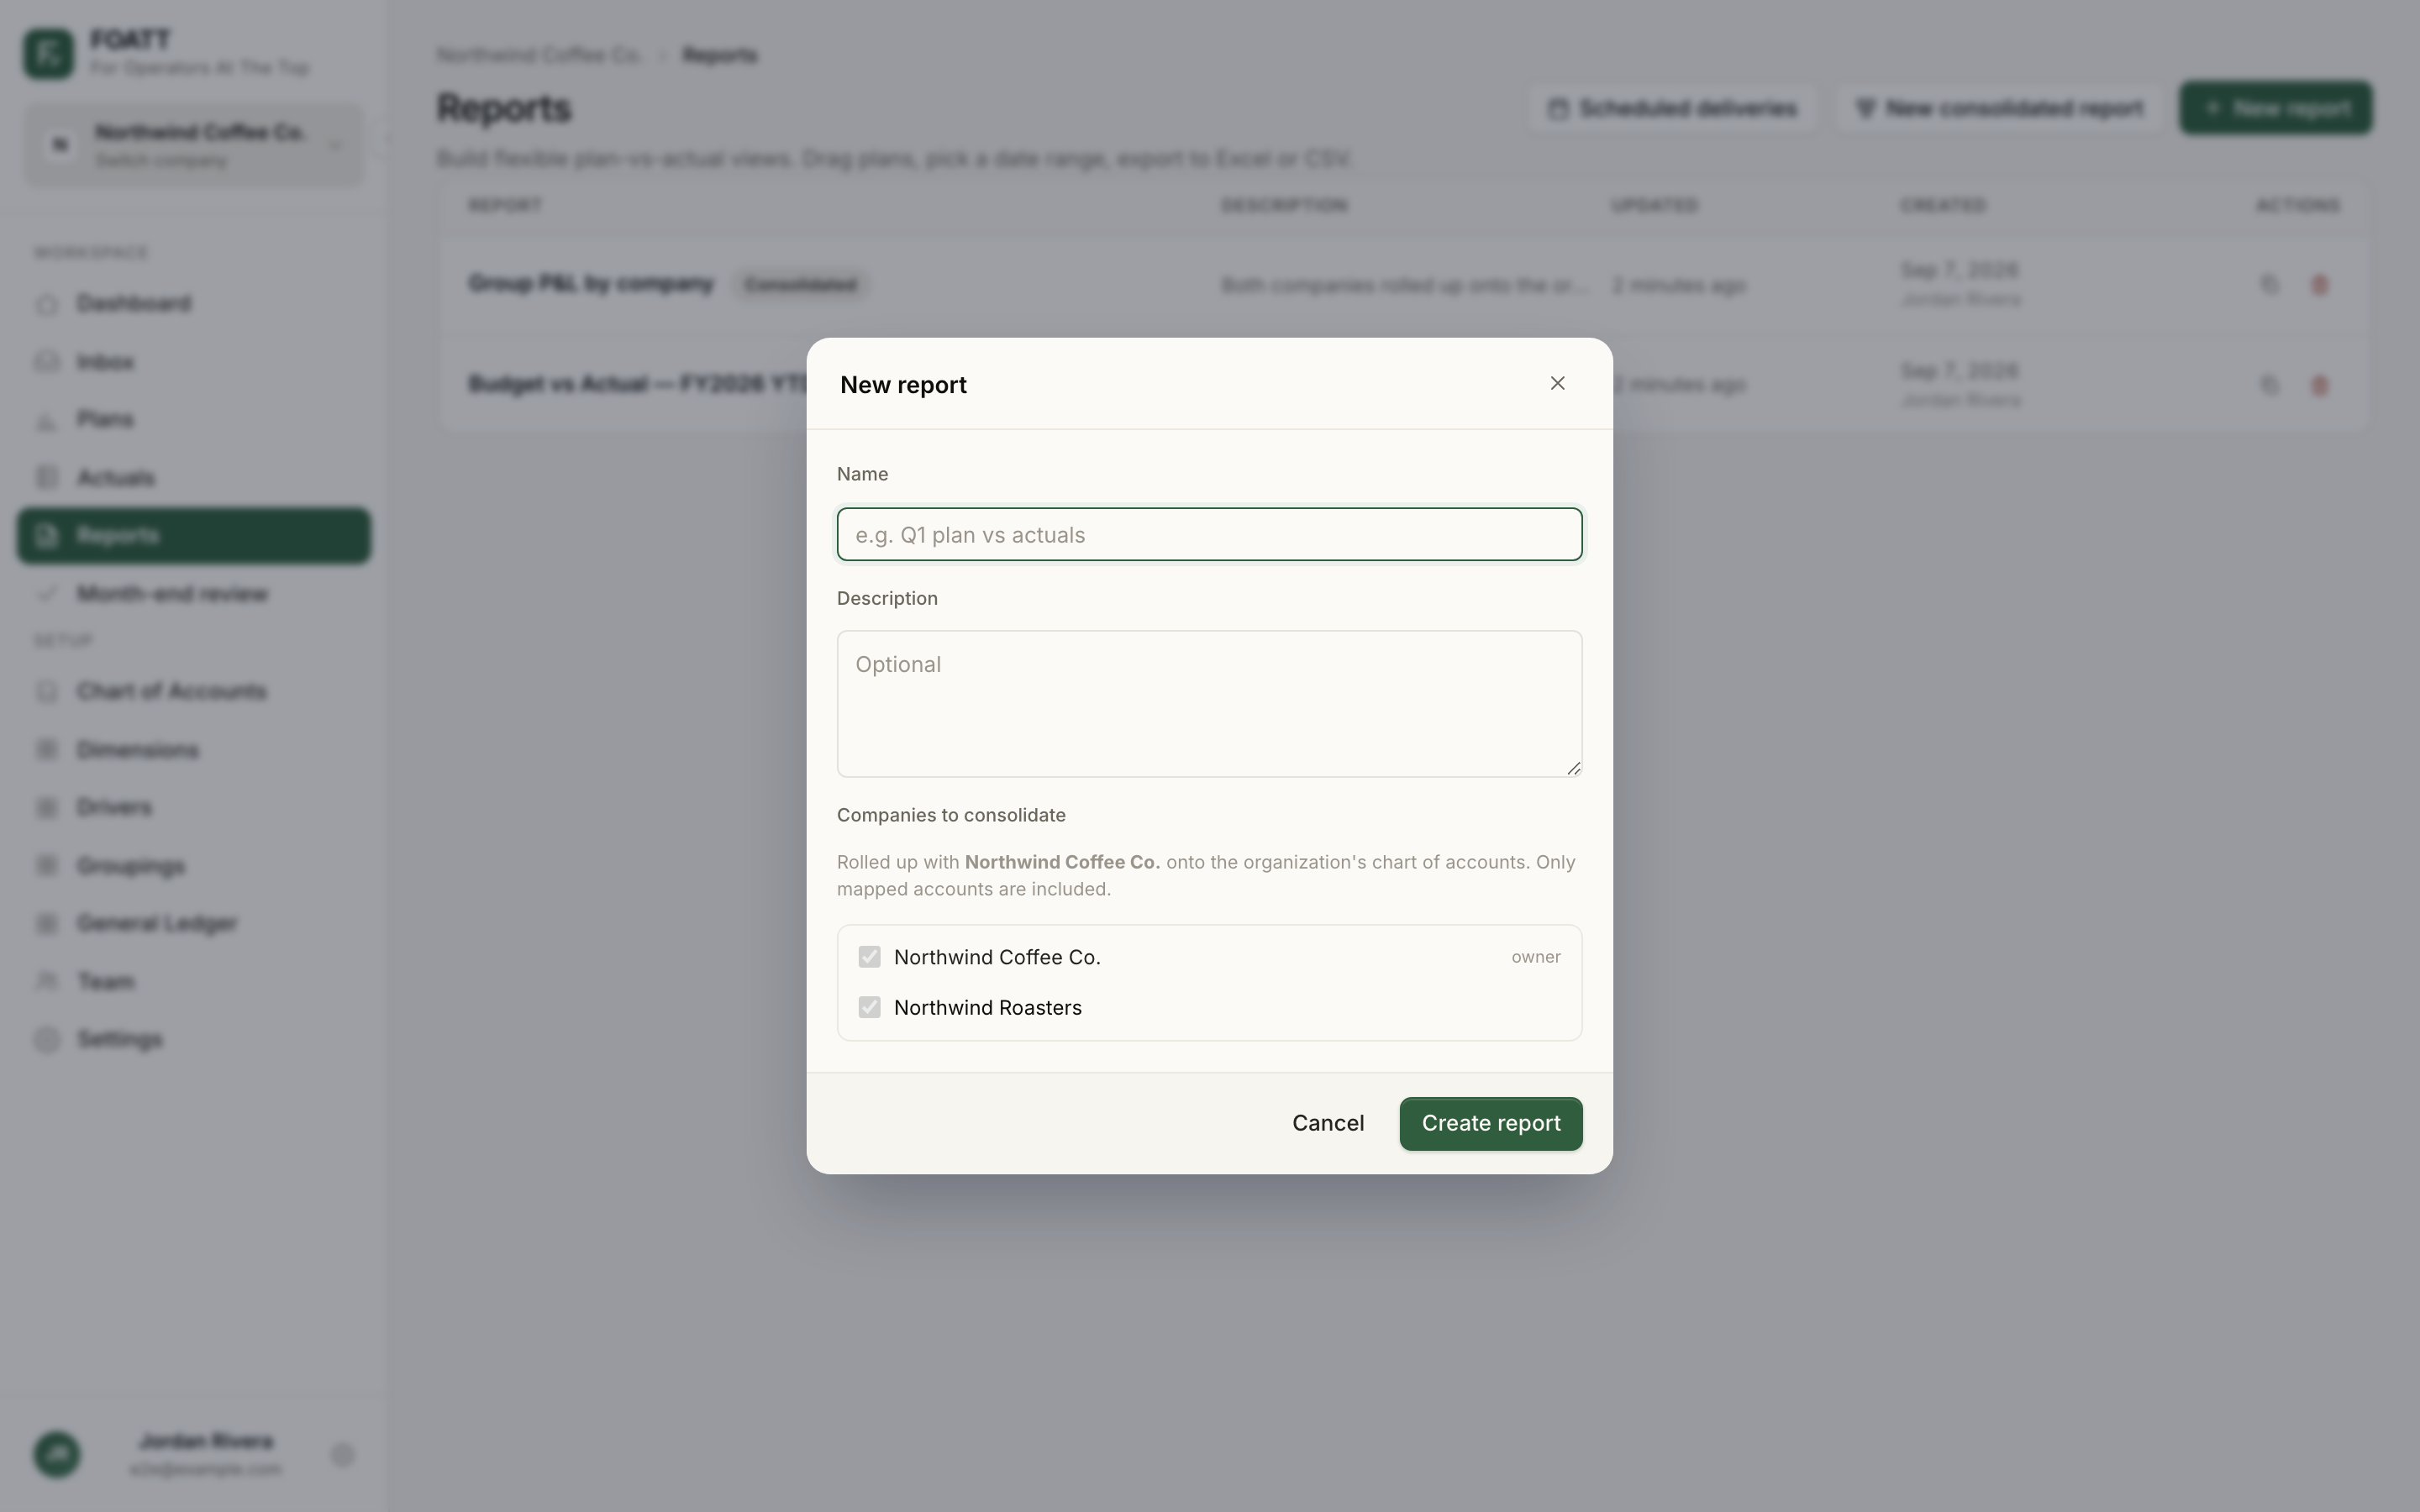
- Enter a Name and an optional Description, then click Create report.
The new report opens pre-configured as a plan-vs-actual view: Account on rows, Period and Series on columns, the current calendar year by month, and three series — your most recently edited plan, Actual, and a Var $ variance. Adjust from there.
View mode and edit mode
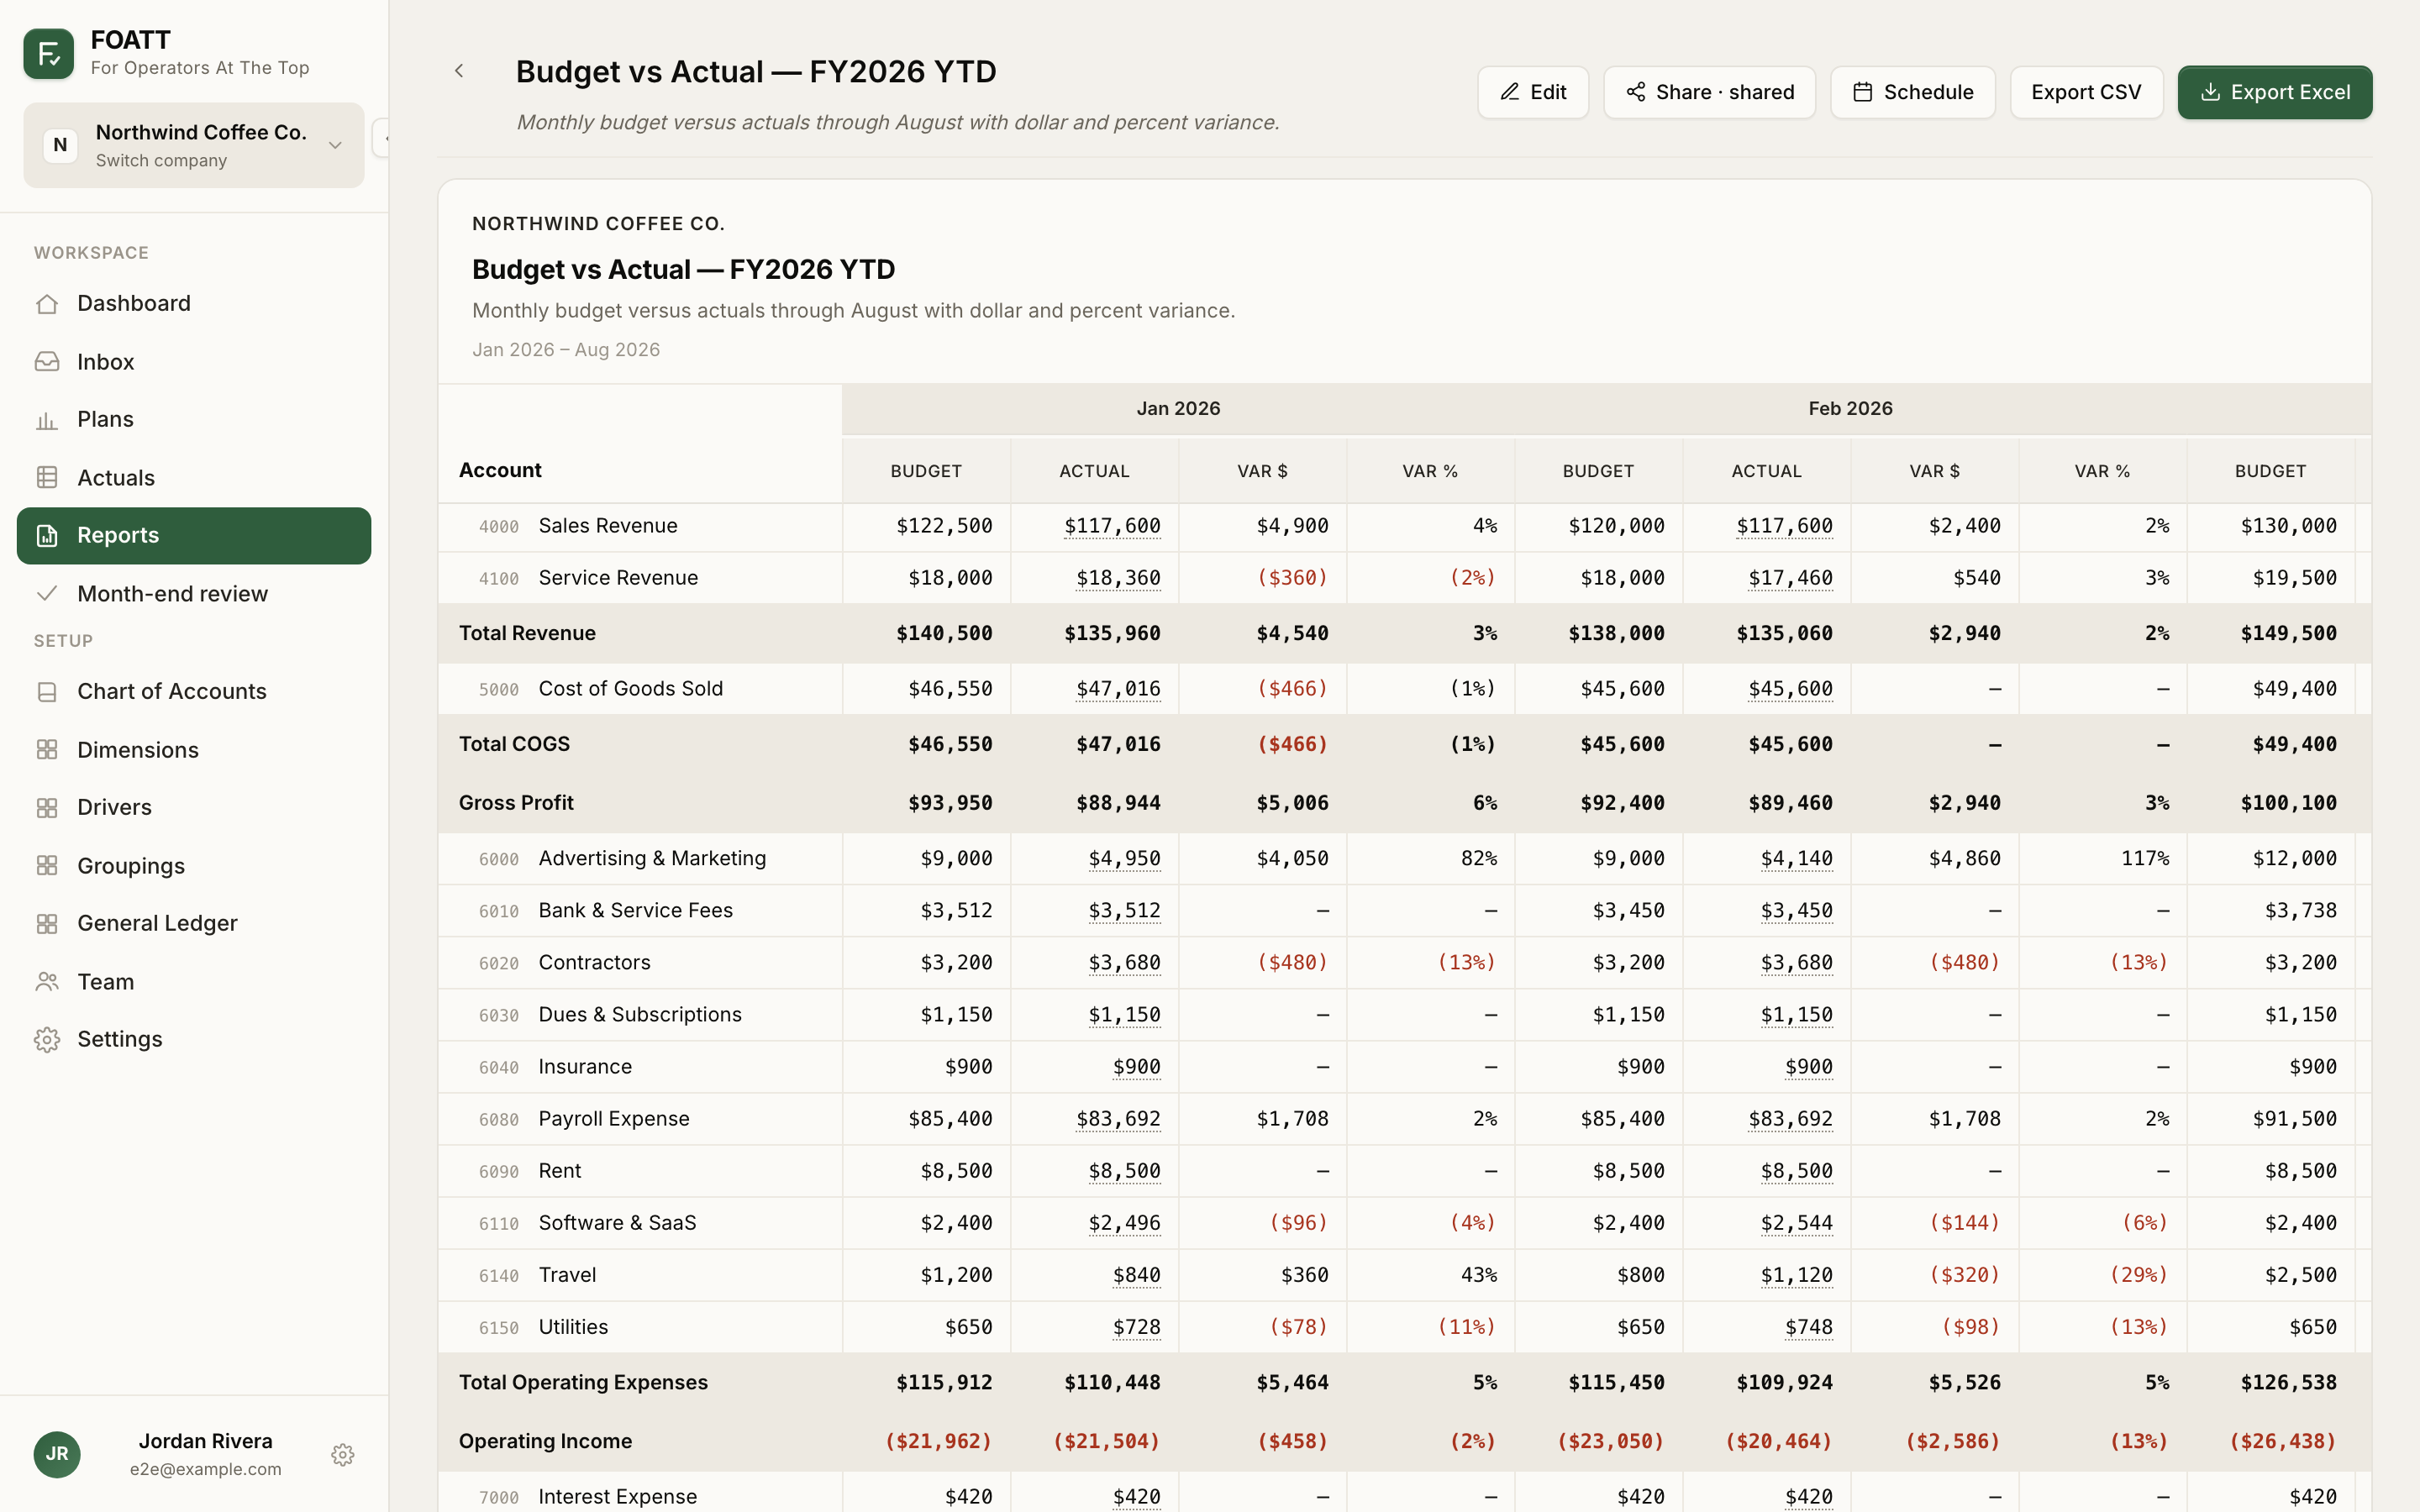
Reports open in view mode, which shows only the rendered table. Click Edit to open the builder; click Done editing to return. Every change saves automatically — the status next to the title reads Saving… then Saved.
The builder
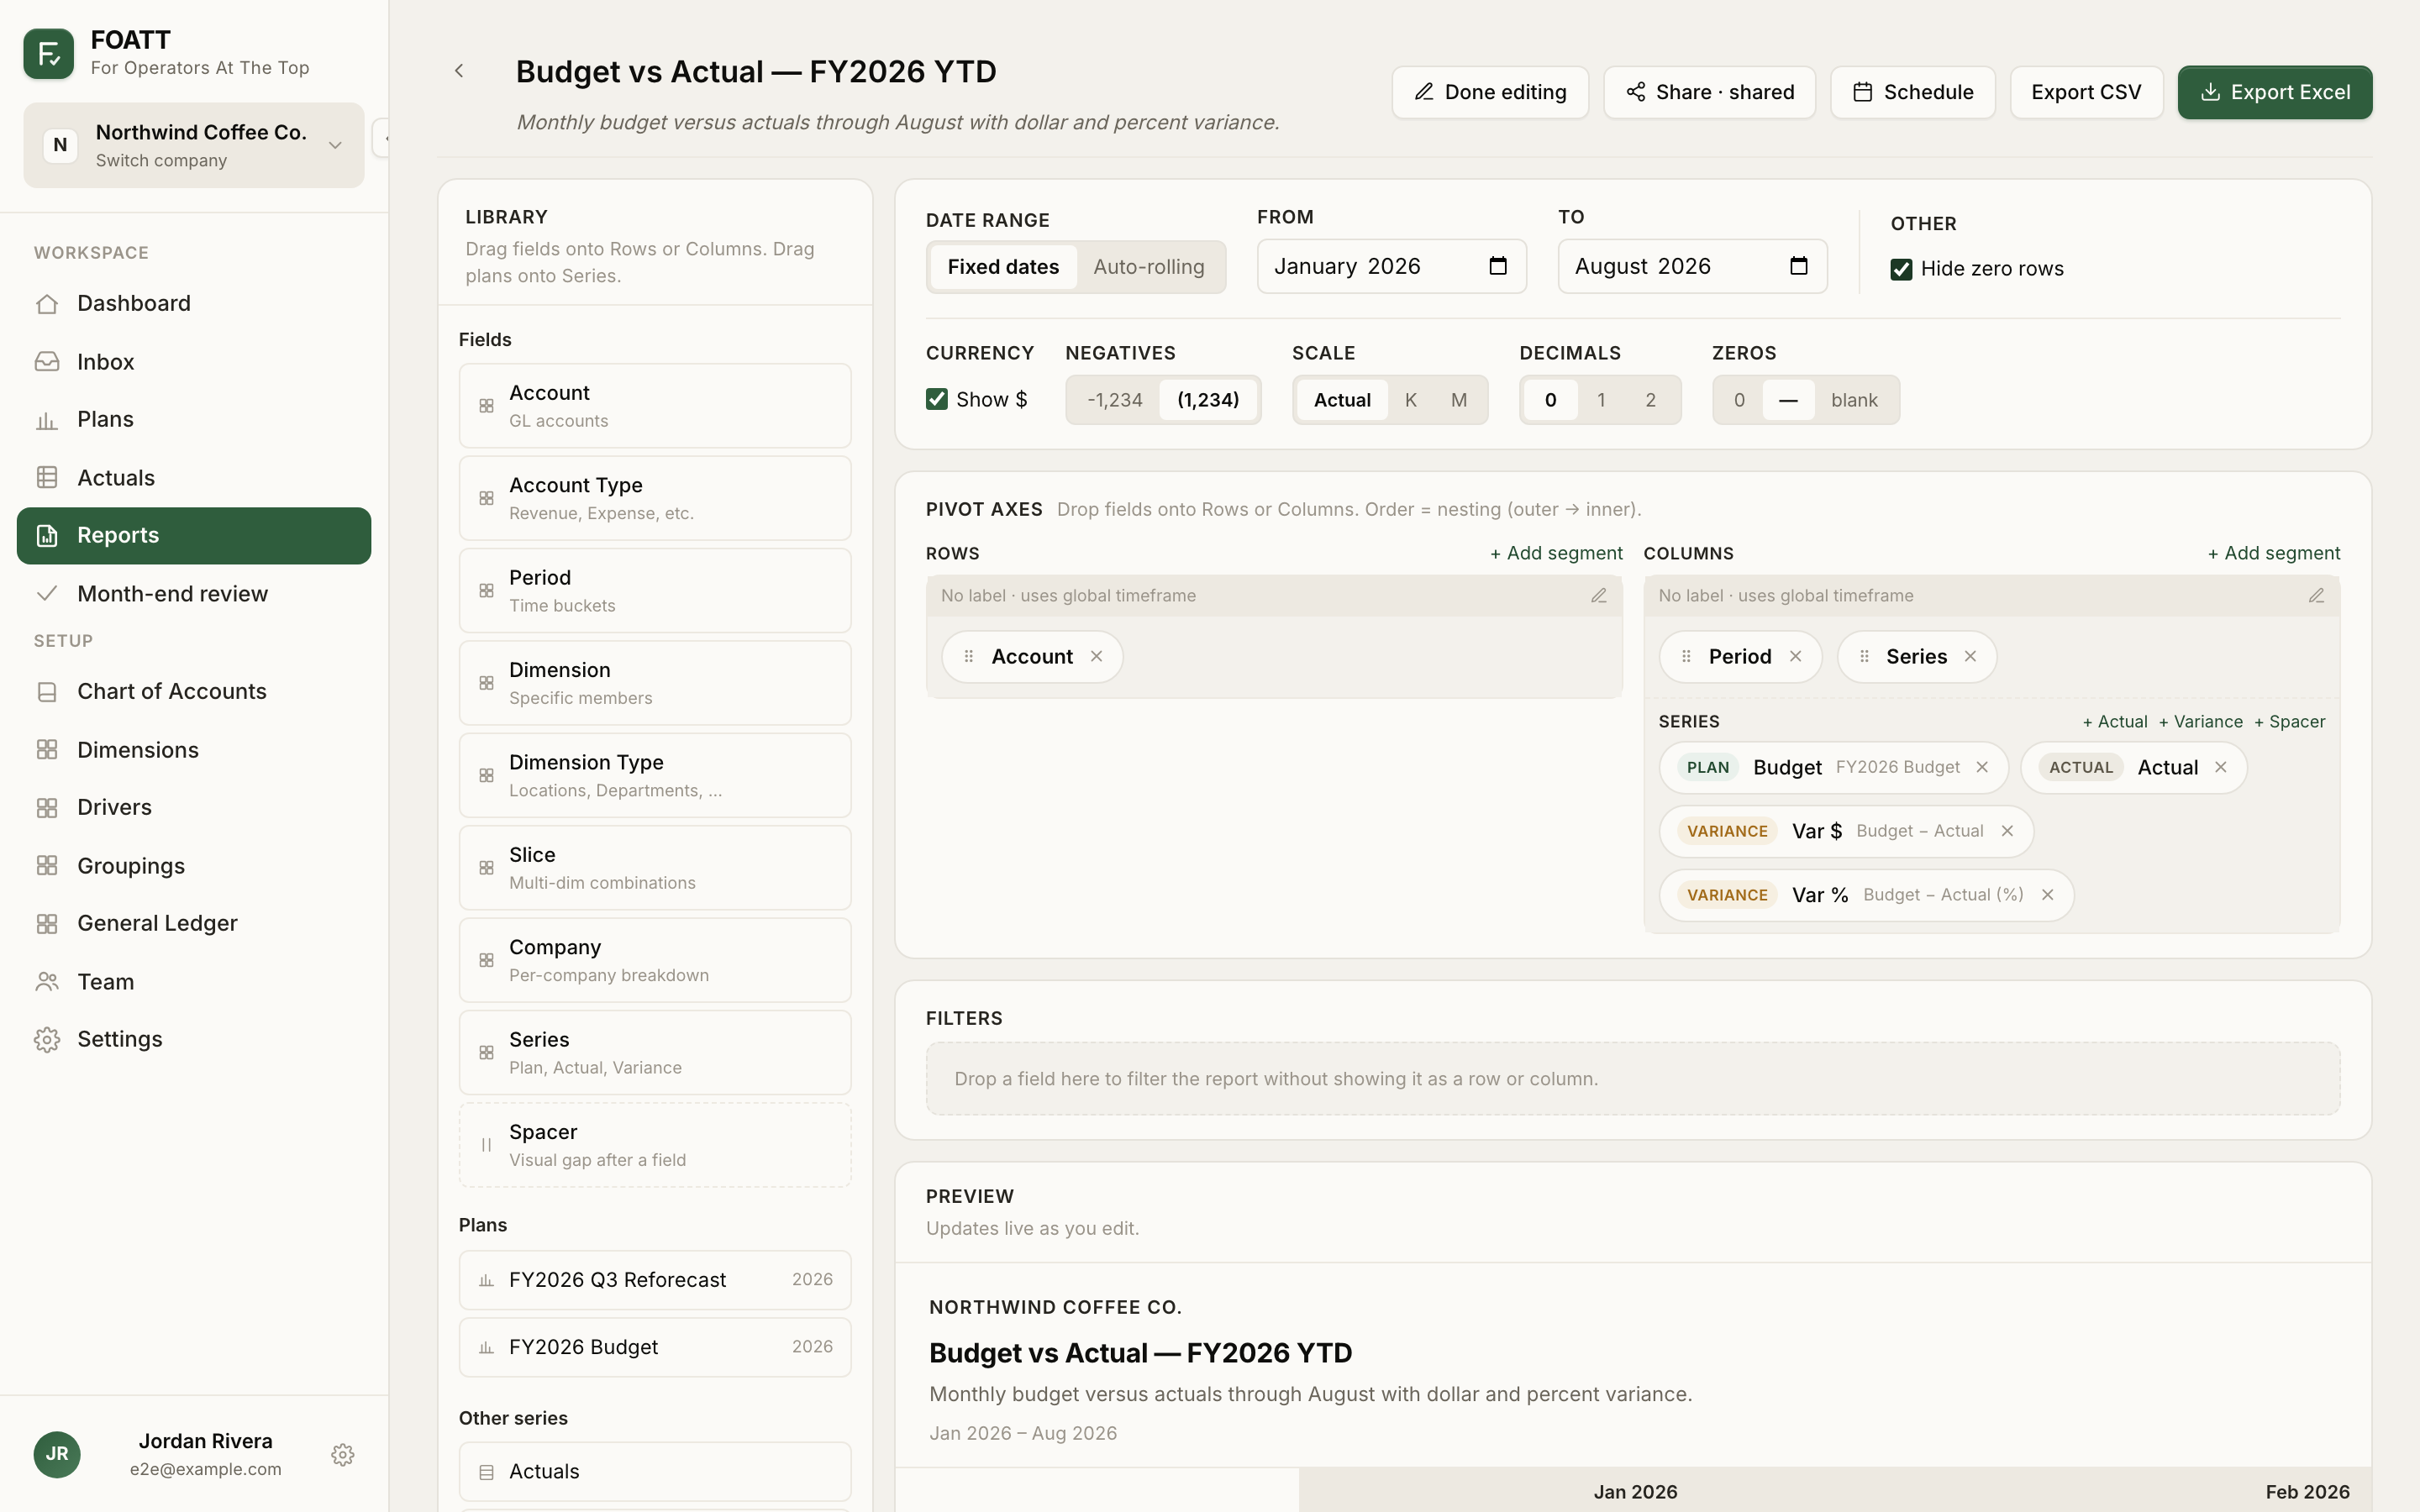
- Library (left) — the fields you can pivot on, every plan in the company, and the Actuals and Variance series.
- Controls (top) — date range and number formatting. See Date ranges and formatting. Consolidated reports also get a Scope picker here; see Consolidate across companies.
- Pivot Axes — the Rows and Columns lanes. Drag fields in; order is nesting from outer to inner. See Rows, columns, and filters.
- Series shelf — inside the Columns lane. Drag a plan from the library here, or click + Actual, + Variance, or + Spacer. See Series and variance.
- Filters — drop a field here to restrict the report without showing it.
- Preview — the rendered table, with a row and column count and generation time at the bottom.
Click any chip to configure it. Click the × on a chip to remove it.
A typical setup
To compare this year's budget against actuals by month:
- Leave Account on rows and Period then Series on columns.
- Make sure the series shelf has your budget plan and Actual, then click + Variance.
- Set the date range to the months you have actuals for.
- Turn on Hide zero rows so unused accounts drop out.
Click a number in the preview to open the GL transactions behind it in a new tab.
Duplicate and delete
On the Reports page, the copy icon duplicates a report with all its settings and the trash icon deletes it. A duplicate gets the name original (copy); rename it before duplicating again.